The Facet UX Design Process
Whether you have a fledgling idea or an existing product already in the market, our UX design process helps to clearly define your product experience and sets your developers up for success. Here we use a six-step design process in effort to develop a great product that clearly solves a problem in a validated market. This process, which we call a “Phase 1 Design Sprint” is used as a design guideline, but can be modified based on the existing research and stage of your product.
Here we use a similar approach to our six-step design process to produce a great product that clearly solves a problem in a validated market. This process, which we call a “Phase 1 Design Sprint” is used as a design guideline, but can be modified based on the existing research and stage of your product.
Step 1. Clearly define the problem you want to solve
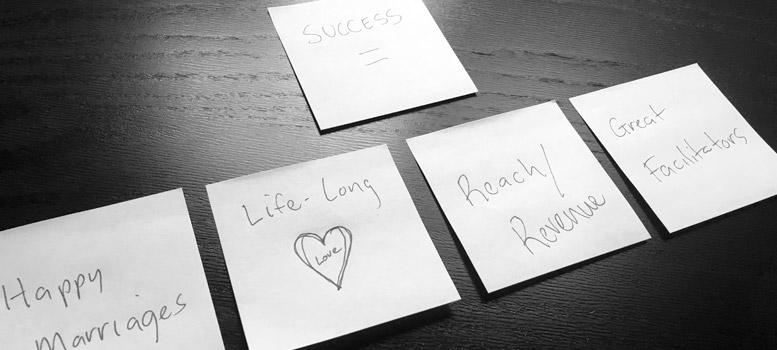
Research everything you can that relates to the problem. Evaluate products that are trying to solve a similar problem and note any feature they do successfully. Then decide how you measure success (a success matrix) that is based on your goals (reach, revenue, or both), and the motivations of your customers. A user story can be very helpful in writing a problem statement as well.
Step 2. Design and propose as many solutions as possible
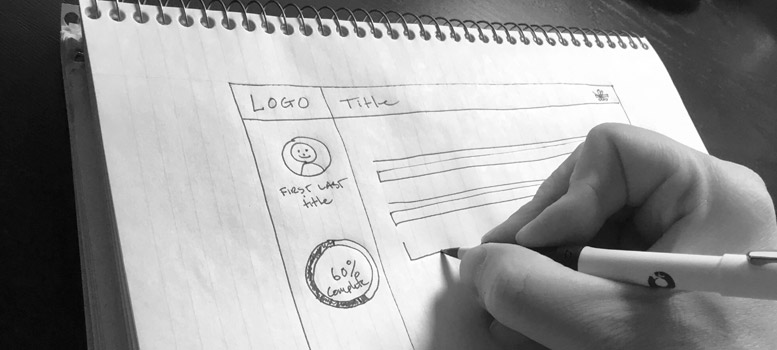
Create multiple mockups of what you think the app experience could be. These should be quick, hand drawn mockups – nothing fancy, as you don’t want to mask bad UX with beautiful aesthetic. This can be done in a group whiteboard session or individually if your group consists of strong personalities that could intimidate other participants based on their title or level of experience. The emphasis here is that everyone brings in fresh, uninfluenced ideas.
Step 3. Select the best ideas
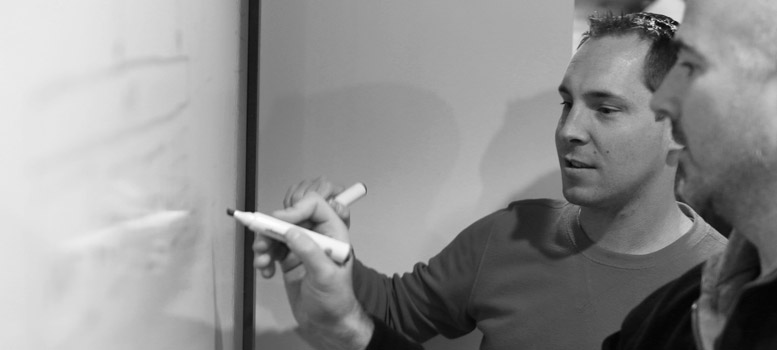
If the quick mockups are done individually, allow everyone to present their drawings and then decide as a group which features/ideas should move on to the consolidated wireframes in Step 4. Otherwise, if your group is small (5 or less), designing the UX click-path on a whiteboard is fine. Your goal is to leave this step with a preliminary feature-set for your MVP. We typically have an engineer in the room while defining the MVP as a sanity check on your timeline and budget.
Step 4. Wireframe prototype, demo, and test
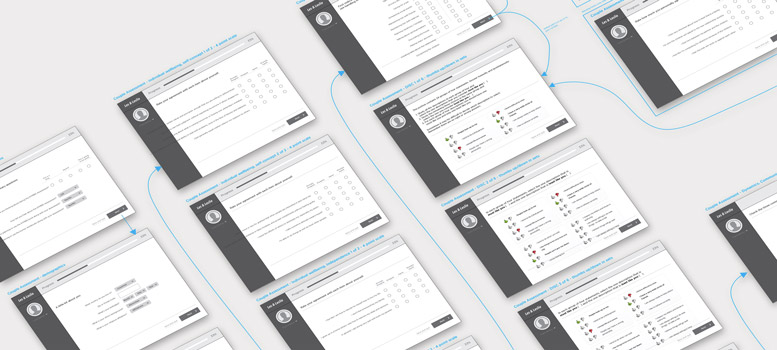
Create a wireframe prototype of the agreed-upon ideas to nail down the interaction design. Each page in the experience should be drawn out with arrows pointing from user action points to their corresponding pages, calling out side-effects and transitions as necessary. These wireframes are presented once again to the group for validation and are modified if necessary. Make sure you do a walk-through of your wireframes with an experienced programmer to make sure you have covered all the technical areas and have covered features like error messaging and other notifications. It’s best practice to demo your wireframes with your target users early for additional feedback and potential changes.
Step 5. Pixel-Perfection
Once the UX is validated, it is helpful to create a pixel-perfect prototype in Photoshop of the final product experience that incorporates typography, usability, color, gestures, and branding into a visual aesthetic that engages the user. We usually use Keynote or Invision’s simple prototyping tool as a quick way to make the demo more interactive. This is much faster than using HTML and it provides excellent results. It’s very helpful when a client sends us a list of product websites they really like and specifies what they like about them, as that can help infuse the process with the stylistic tastes of the key stakeholders.
Step 6. Take what you’ve learned and make it better
Test, test, test your prototype with people that are not associated with the project. Look for stumbling blocks, annoyances, and other points of market validation. The feedback you obtain from testing will be the key to your success. If there is significant negative feedback, it may be necessary to go back to steps 2 and 3 – or decide if the market just doesn’t need this product (which could save you big expense and heartache in long run). Typically, a team like Facet will not let you get too far down this road as we help identify these red flags early.
Following this process and designing a solid wireframe reduces risk and serves as a reliable resource for cost estimates and scheduling deadlines.
We have found that validating your designs this way saves time and money in the long run. It’s also a fun way to get together as group and collaborate on a common goal. Please contact us about scheduling a Phase 1 design process with your company today.


